Introduction
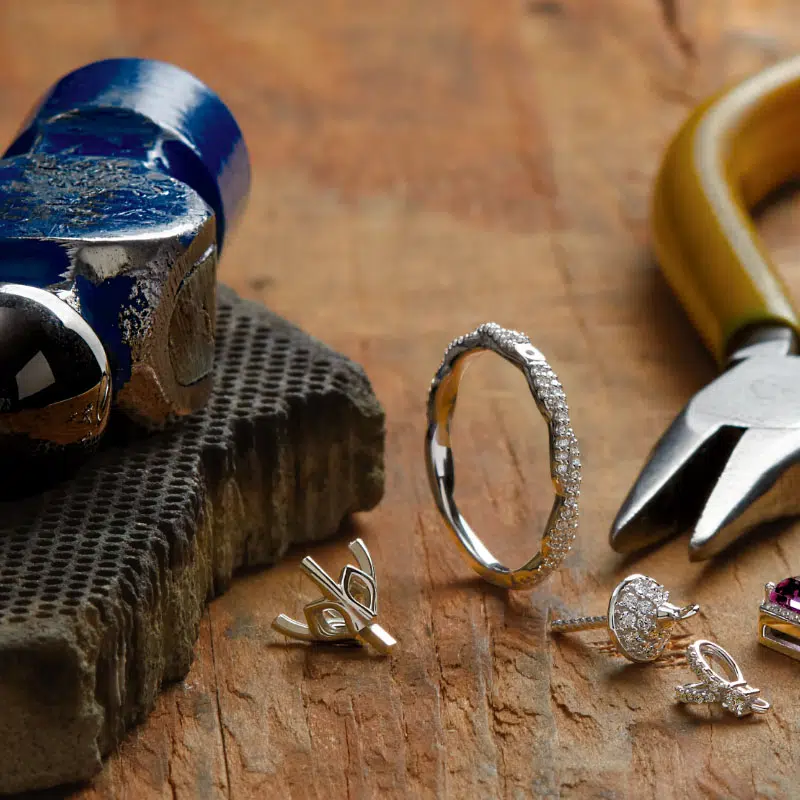
A ring, necklace, or pair of earrings will complete many steps before it finds itself on the hands of one of the clients.
Each of the links of the chain requires a defined procedure so that the result is of high quality and expensive rework is avoided.
In this guide, we’ll talk about the jewelry manufacturing process to help you understand how jewelry is made, and you will gain more jewelry knowledge, which helps you better communicate with the manufacturer when you’re going to customize jewelry with them, and avoid pitfalls.
Design & CAD Modeling
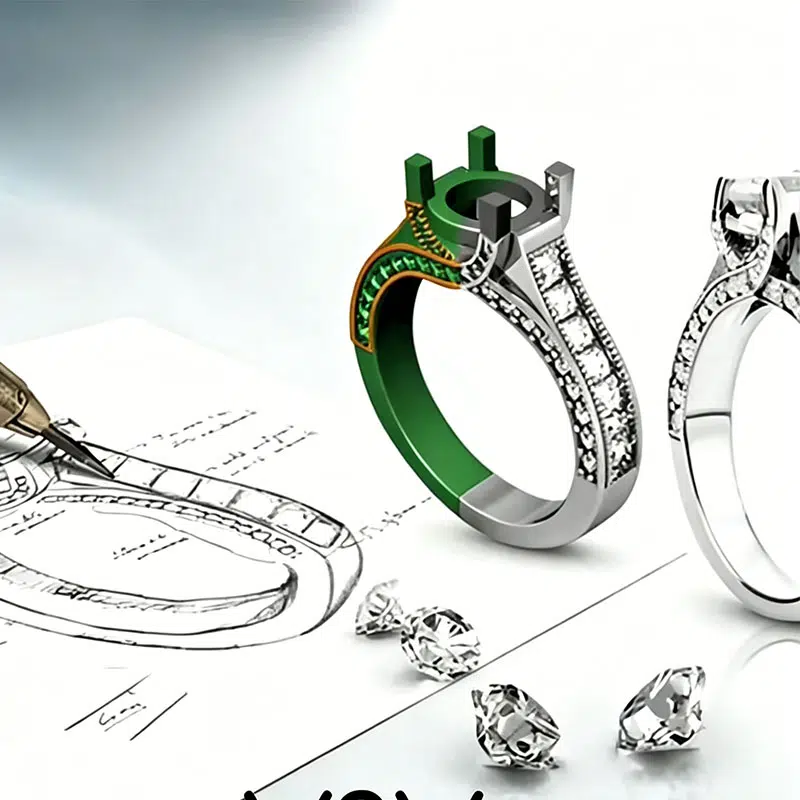
A jewelry piece begins as a drawing. A designer sets out its outline, its size, and the place of its gems. He goes on to use CAD (Computer-Aided Design), which enables him to produce a digital, three-dimensional plan of the design
The CAD file specifies precise measurements, stone sizes, and locations, prong positioning, wall thickness and tolerances, which are minuscule slots that bear the parts to fit properly. An exact CAD file will prevent you from making casting blunders, incorrect stone settings, and even future work that will turn out to be a waste of time.
3D Printing & Wax Model Creation
Once the CAD file is approved, a physical prototype gets made. Generally, the majority of factories opt for 3D printers that operate using wax or resin by way of structure, layer by layer.
To create super-fine detail work, such as micro-pavé or filigree, beat shops will use wax milling machines, which are fine-capable machines that cut the wax model from a wax block, for finer detail.
The prototype keeps all the design aspects and becomes the master reference point in the production mold.
Rubber Moulds & Wax Tree Assembly

The initial prototype is used to create a silicone or rubber mold from which the factory can produce the same casts repeatedly. The mold contains the surface texture and carving lines as well as the angles of the stone seats.
The workers fill the mold with liquid wax under pressure. After it has solidified and is removed from the mold, the piece is attached to a pygmy wax tree (the central stem supporting many wax copies on one stem). The smaller pendants and parts of earrings are at the top, while heavier rings and bangles are placed lower down. This setup ensures that the liquid metal will flow evenly throughout the mold during casting as well as that its yield will be maximized inside the mold.
If the wax tree is made poorly, with different pieces being close to each other and being attached at wrong angles, the metal flow will cause turbulence, which will result in porosity and wasted material.
Investment Casting (Lost Wax)
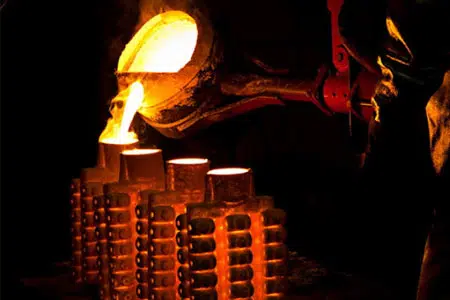
The wax tree goes inside a steel flask. Workers pour investment plaster around the tree until the flask fills.
When the plaster hardens, it is put into a kiln. The temperature reaches 600-700°C. The increase in temperature solidifies the plaster, turning it into a very strong ceramic shell, and burns away every trace of the wax. The negative cavity, which has the same shape as the jewelry items, remains.
Molten metal, such as sterling silver, brass, or stainless steel, is pushed into the cavity by centrifugal force or through vacuum suction. The metal fills every space that the wax had filled. After the cooling process, the workers take care to remove the investment plaster. The naked metal tree is left within, now ready for the next process of jewelry making.
Cleaning, Assembly & Pre-Polishing
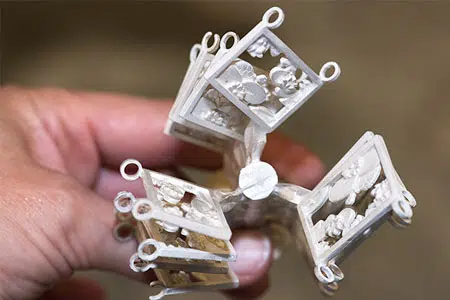
There are metal channels called sprues — the devices that guided the molten metal into the cavity — still attached to each cast piece. Workers cut off the sprues with a jeweler’s saw and then file away the seams of the parts that were caused by the mold parting.
Next comes assembly. Not every part is made as one complete unit: earring posts, ring shanks, bails for pendants, clasps and hinges are soldered on at this stage. A cold solder joint on a pendant bail means the pendant separates from the chain later — so every joint gets inspected after soldering.
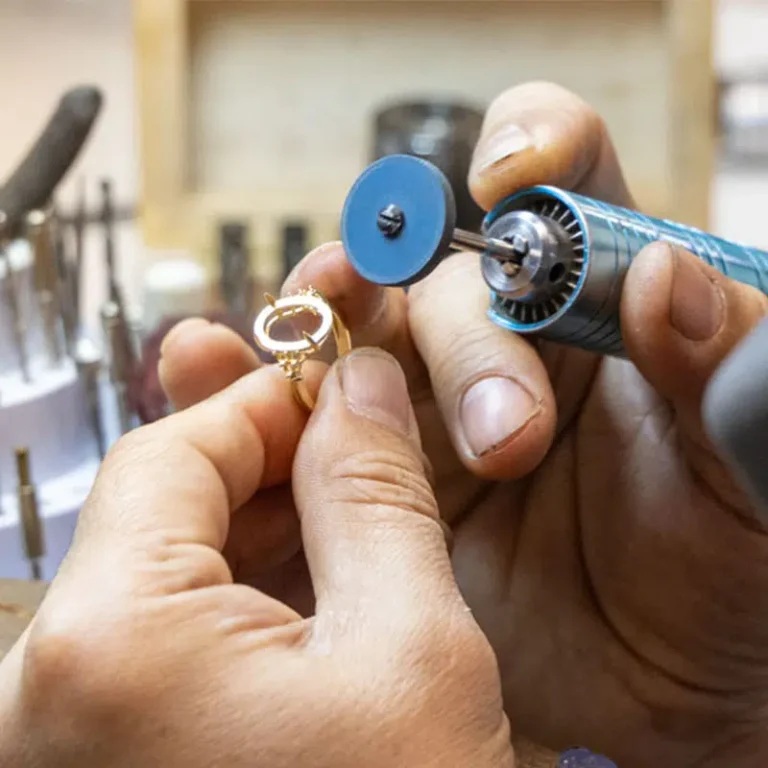
Pre-polishing comes after the assembly process. The pieces are rolled inside machines possessing ceramic or steel elements, which ensures that the surfaces become smooth with no rough patches. After that, the jeweler polishes by hand the details that cannot be worked on by machines, including the interiors of ring bands, along with gallery areas and around prong bases. Ultrasonic cleaning is used to clean the pieces thoroughly.
There are two problems with skipping pre-polish: dull patches under the stones where polishing tools cannot reach after setting, and the adhesion of plating due to the presence of surface residue that blocks the bond between metal and the plating layer.
Stone Setting
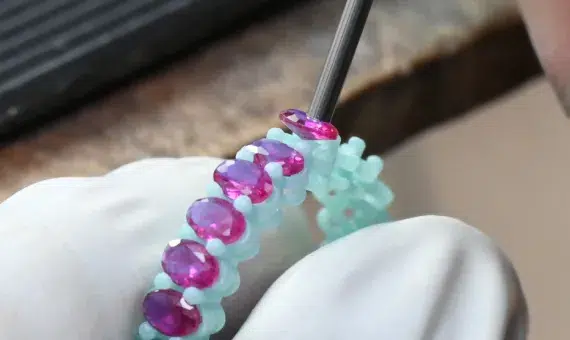
Stone setting is done by hand under a microscope. Common styles include:
| Setting Style | How It Works | Best For |
| Prong | Metal claws grip the stone from above | Solitaire rings, pendants |
| Bezel | A thin metal rim wraps around the full stone edge | Active-wear rings, cabochons |
| Pavé / Micro-Pavé | Many small stones set close together, tiny metal beads between | Band rings, halo settings |
| Channel | Stones sit in a groove between two parallel metal walls | Eternity bands, tennis bracelets |
| Flush / Gypsy | Stone sits flush with the metal surface | Men’s rings |
Every stone must be level in its seat. The girdle (the widest part) should receive the complete support of the metal. A crooked seat results in the stone tilting and reflects light unevenly. A well-seated stone appears brilliant from all directions.
Polishing, Plating & Final Finishing
The finish controls how light hits the metal surface.
- A mirror polish is achieved by progressively finer abrasives (buffing compounds) from coarse cutting compounds to jewelry rouge, for a smooth, reflective surface with high luster.
- A satin finish is made by brushing the metal with a fine abrasive wheel in one direction to disperse light softly.
- Sandblasting is made by shooting fine particles from a compressed air source into the surface for an even frosted texture.
For Silver jewelry, rhodium plating normally follows. This provides the silver with an additional protective coating that is resistant to tarnishing. Without rhodium, sterling silver will start to tarnish within weeks of being exposed to the surrounding air. However, it remains bright for months or years, depending on the wear, with it on there.
Quality Control, Hallmarking & Certification
All pieces go through final inspections: any absence of loose stones, scratches, correct dimensions, solder joint strength, stone position, and clasp function is checked.
After they have passed the checks, they will go through the hallmarking process, such as 304, 316, or 925. In cases where diamonds or gemstones are concerned, independent laboratories can be sought to certify stones.
Overlooked Steps That Affect Yield & Quality
A few essential processes are missing from a straightforward production table but play a significant role in the end result.
- Testing of the material is done first. Before doing any casting, a reliable factory would conduct XRF or fire assay tests to confirm the quality of the metals.
- Most manufacturing problems begin at the casting stage. Low temperature leads to premature cooling of metal before casting thin parts, leading to incomplete cast pieces. Excessively high temperature results in chemical reactions of plaster, producing low-quality surfaces, such as rough, grainy surfaces.
- Bad wax burnout may cause some carbon to stay inside the mold. This creates porosity — tiny holes that show up as pits on the surface during polishing.
- Most metals shrink up to 3% to 6% when going from a liquid to a solid state. If the CAD design doesn’t factor this in, the metal prongs will be looser than intended, and the stone will not fit as tightly.
- Mould archiving saves time on repeat orders. The mould that has proven its effectiveness is always in the factory’s ‘library’. As soon as the client orders the same product, it will take just moments to start producing, significantly reducing the time for processing.
Conclusion
Every step in jewelry production relies on the preceding stage.
Bad CAD produces bad castings. Bad castings make polishing more challenging, which undermines secure stone setting. Bad stone setting leads to returns. No stage can overcome issues from previous stages.
By working with a manufacturer, such as OOTB Jewelry, that controls every stage of the process, you can safeguard your deadlines, ensure your reputation, and protect your profit margin.
Should you want to customize your jewelry and require OEM jewelry manufacturing services, contact us to discuss your next order.
How long does jewelry manufacturing take?
A timeline of 22 to 28 business days is necessary for a standard piece to be created, from the moment of CAD approval till a finished item is produced. The timeframe is longer for complicated designs and pieces including the application of several casting methods.
What metals are used in jewelry casting?
The most popular casting metals used are sterling silver, brass, and stainless steel.
Why is CAD important in jewelry manufacturing?
The CAD file becomes the basis for the whole further process. The presence of correct dimensions, tolerances, and shrinkage compensation in a CAD file contributes to lower casting defects, less time spent on stone placing, and proper timing of the whole process.
What is lost wax casting?
Lost-wax casting is a method in which a wax figure is enclosed in investment plaster. After the wax is melted away in the kiln, the figure is removed and replaced by liquid metal that fills the cavity.
What is the difference between 3D printing and wax milling?
3D printing produces the model layer by layer using wax or resin. It works quickly and accurately for most items. Wax milling cuts the model from a solid wax block with a rotating tool, which provides better definition of fine details but takes longer and incurs higher costs.
 English
  French
  Spanish
  German
  Russian
  Turkish
  Portuguese